Easy Guide on How To change Controller skins in Delta Emulator on iPhone/iPad
You might have been using Delta – Game Emulator for a long time now and you are loving it but you want to change the interface of the emulator. Changing the controller skins on your iPhone or iPad is super easy and can give your games a fresh new look. Whether you’re aiming for that nostalgic Game Boy feel or something more unique, there are tons of skins to choose from to make Delta your own.
You can follow step-by-step how to find, download, and use custom skins for Delta. Plus, we’ll share the best sites for grabbing cool skins and offer tips to make the process smooth and simple. One of the most important files are to download Bios7.bin, they make the emulator work smoothly.
What is the Delta Emulator? A Brief Overview
Delta – Game Emulator is an emulator app that lets you play old-school games from different consoles right on your iPhone or iPad. This emulator allows you to enjoy classic games from systems like the Game Boy, Nintendo 64, Super Nintendo, and more, all in one place. It basically turns your iOS device into a virtual gaming console, so you can enjoy Best Delta Emulator Games for iPhone.
The best part about Delta is how easy it is to use. You don’t need to be an expert to get started; just load your game files into the app, and you’re good to go. Whether you want to play NES classics or Game Boy Advance titles, Delta makes it simple to dive into a wide range of retro games whenever you want.
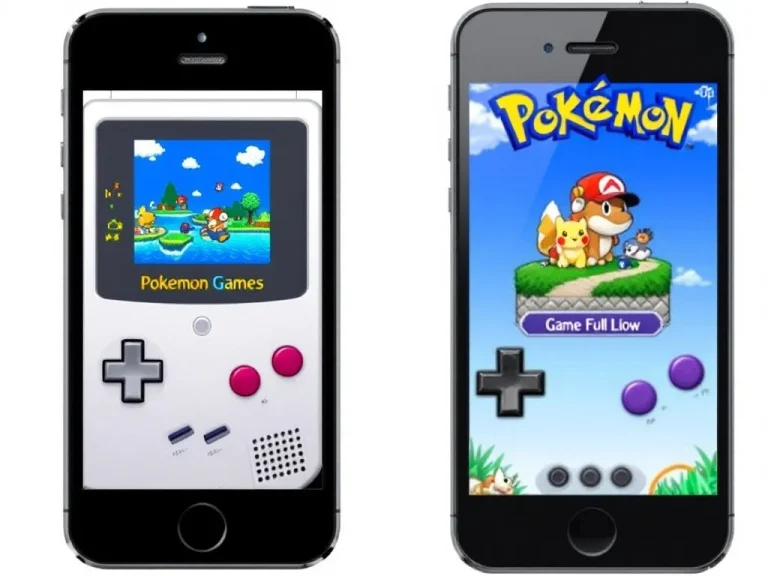
Why Customize Your Delta Emulator Controller Skins?
You can customize the skins in your delta emulator that makes it look more awesome and beautiful. Whether you need a look of Game Boy or you need it to look like a new unique design, you can customize however you like it.
Step-by-Step Guide: How to Change Controller Skins in Delta Emulator on iPhone/iPad
You can easily customize the controller skins by following our simple and easy guide.
Step 1: Create a Folder for Skins
- Start by making a folder on your iPhone or iPad named “Delta Skins.” This will help keep all your downloaded skins easy to find.
Step 2: Find and Download Skins
- Visit websites like Skins4Delta, Delta Skins etc. and look for different controller themes. Once you find the ones you like, download them to your device and save them in the “Delta Skins” folder.
Step 3: Open Delta Emulator
- Launch the Delta Emulator app on your iPhone or iPad. Head to the settings menu by tapping on the settings icon.
Step 4: Choose the Console to Customize
- In settings, pick the console you want to customize. Delta supports various systems like NES, SNES, Game Boy, and more, so select the one you’re currently using.
Step 5: Add New Skins
- Tap the plus icon in the top right corner of the screen. This will allow you to upload new skins. Navigate to the “Delta Skins” folder, select the skins you downloaded earlier, and add them to the emulator.
Step 6: Select Your Skin
- Once the skins are uploaded, choose the one you want to use for that console. Your selected skin will now be active the next time you open a game.
Step 7: Switch Between Vertical and Horizontal Skins (If Available)
- Some skins come in both vertical and horizontal versions. If your skin has both, you’ll need to select each one separately for different orientations in the same console.
And that’s it! You’ve successfully customized your Delta Emulator with new controller skins.